
Manufacturing With Ponoko
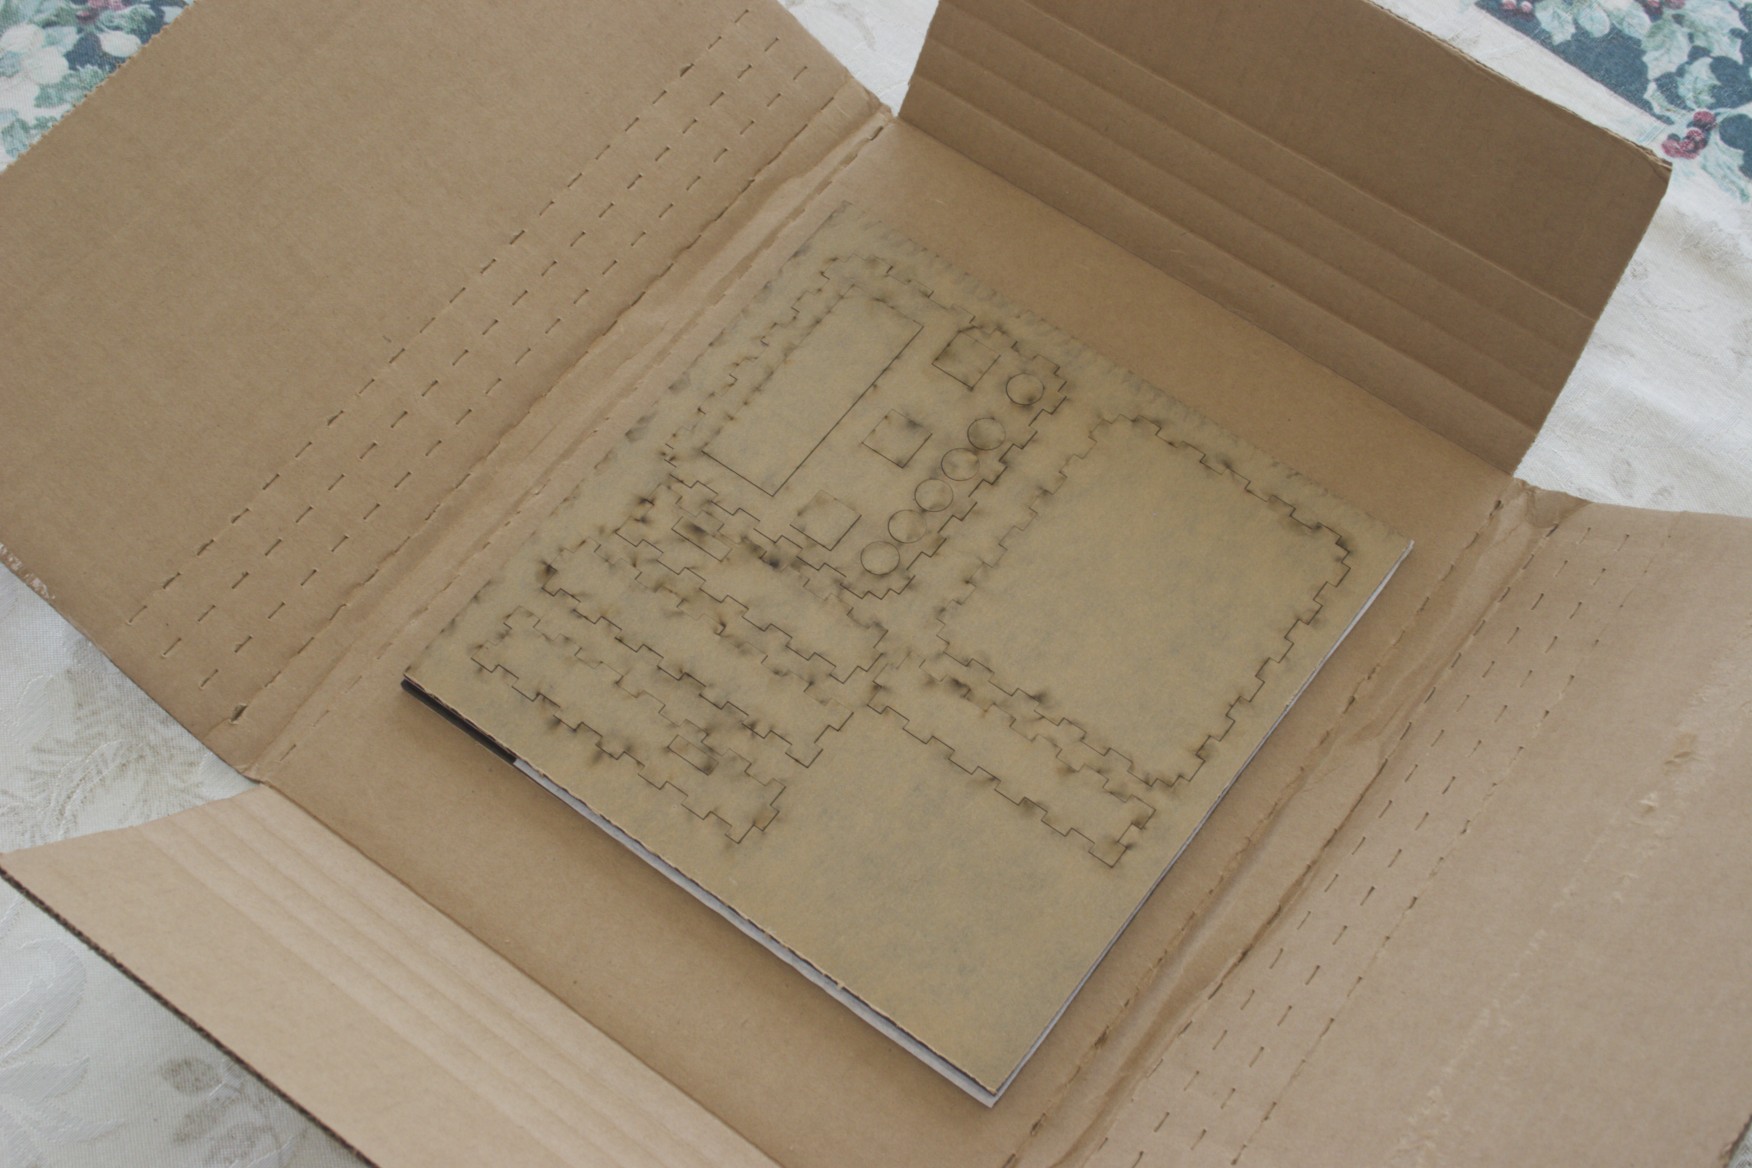
Enclosure parts, as shipped.
Ponoko’s site makes it remarkably easy to manufacture your product. Export your design to EPS, upload it, select your material, set the quantity of each panel, and you’re ready to go. Piece of cake!
I did find one flaw in the workflow, however: there doesn’t seem to be a way to order more than one of a given product at a time. In my case, I wanted two enclosures (my mother saw the thing and wanted one for herself). The only way I could see to do it within the confines of the system was by placing two separate orders, which would also incur additional shipping charges.
My solution was to bump the quantity of parts within the product itself. While not a show-stopper, this is an annoying oversight on their part. If anyone can correct me on this, by all means do so; I’d like to know in case I use their service again.
Once the order is placed, you can easily see the production status, which is handy – but their service is slow enough that it’s like watching paint dry. It was only a day or two before the design was marked as reviewed, but then everything ground to a halt. It was a good week before anything else happened!
To be fair, they clearly state that it can take up to three weeks to get your product – but for a simple order like this, I still expected better. For a couple of small acrylic panels, I had hoped it would find its way through in a few days, but no such luck. I may try to find a local shop to do this if I ever use acrylic again; it seems to me that it would be much faster.
The total cost for two enclosures was $31.08, plus a $0.25 “International Service Fee” that was charged separately. I’m not sure if the latter was my bank or Ponoko, but I won’t quibble over a quarter…
A Minor Adjustment
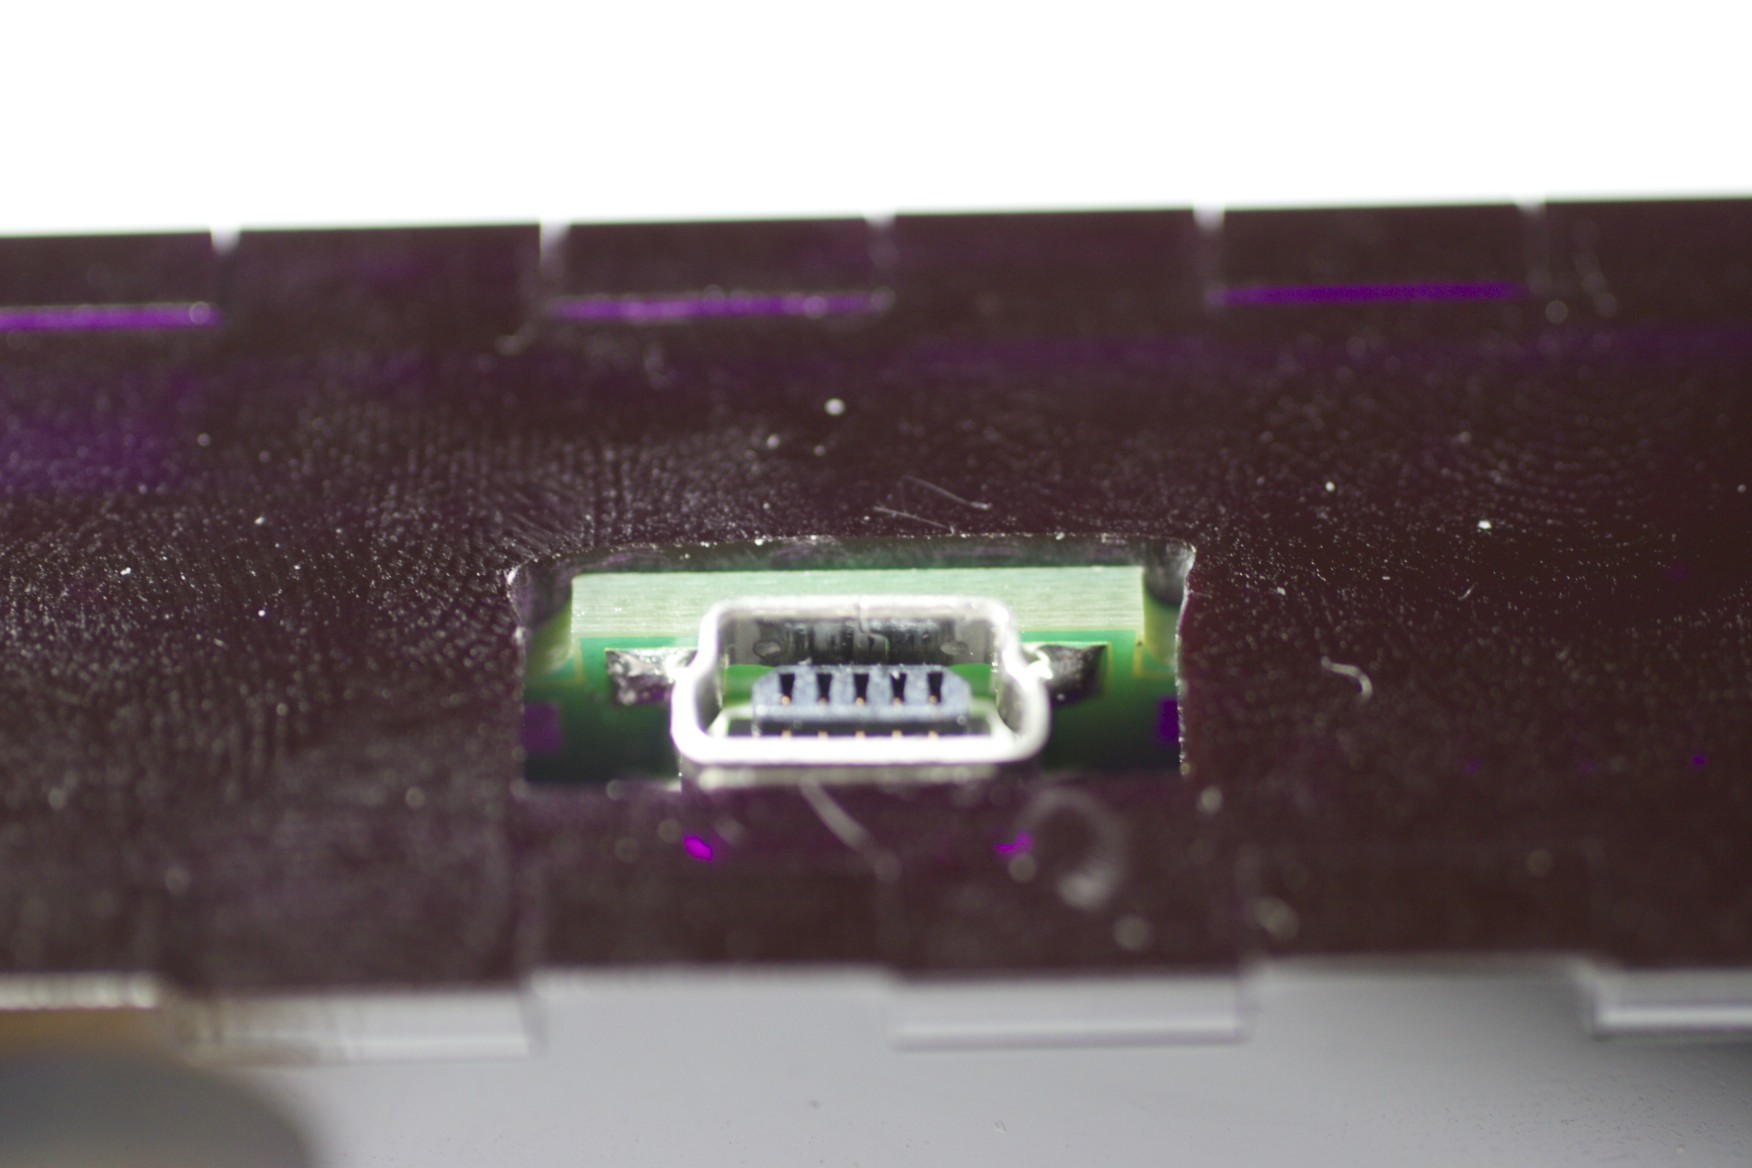
The finished USB port - had to dremel it out a bit to make it fit right. And yes, acrylic picks up fingerprints like crazy!
Paper testing is a wonderful thing, but it isn’t perfect. No matter how hard you try, you’re liable to find at least one problem in the first cut of your new enclosure (no pun intended!). In my case, the USB connector cutout was a bit too small.
This was quite easy to fix since I didn’t bother with a perfectly-shaped cutout to begin with (and for once it wasn’t because I was lazy – the acrylic was just too thick to allow a USB connector to seat properly, so I designed an outcropping into the PCB to extend it out through the case). It was just a rectangle, so a dremel tool with a sanding bit did the trick nicely.
Pingback: An iTunes rating box for everyone - Hack a Day
Pingback: An iTunes rating box for everyone » Geko Geek
Pingback: An iTunes rating box for everyone « vis a vis | visual mind
Pingback: An iTunes rating box for everyone « Hackaday « Cool Internet Projects
Please, please release this as open source! I have been looking for a project like this!
I really like what you did here – are you thinking about producing a kit, opening it up or something?
My current thought is to design a second, lower-cost version (this one is quite expensive to build) and offer it either as a kit or a finished product (or both). Haven’t made any decisions though, so I’m open to suggestions.
I’d prefer a kit (or even a PCB and links to the parts on digi-key or something) to a finished product. Lower cost sounds good to me!
I’ll certainly keep that in mind. As an aside, I just posted the Eagle design files over on DP (we’ll see if they decide to use them for the video); feel free to take a peek.
The firmware source is still a problem; I don’t think the MAL license allows redistribution. I’ll probably switch it out with the DP stack at some point.
How much would you be willing to spend on parts to build something like this as a kit? My biggest concern is the expense involved in the buttons; those are $30+ on their own. I’m looking for lower-cost solutions, but the one I’ll likely end up with will be a while in coming.
Nice execution!
This is a really awesome project! I am a site manager on Instructables.com. You should consider submitting this as an entry to our Make It Real Challenge. We’re giving away over $100k in 3D printers.
link -> instructables.com/contest/maketireal
I would be happy to feature it on our site if you decide to post the instructions there and help get it noticed among our 13.8 million viewers. Let me know if you have any questions!
Cheers!
Audrey
audrey@instructables.com
I’ll keep it in mind, thanks! There’s a license issue with the firmware at the moment, however, so I unfortunately probably won’t make the deadline for the contest.
Very rapidly this site will be famous amid all blogging and site-building viewers, due to
it’s fastidious posts