Step 5: False Alarm
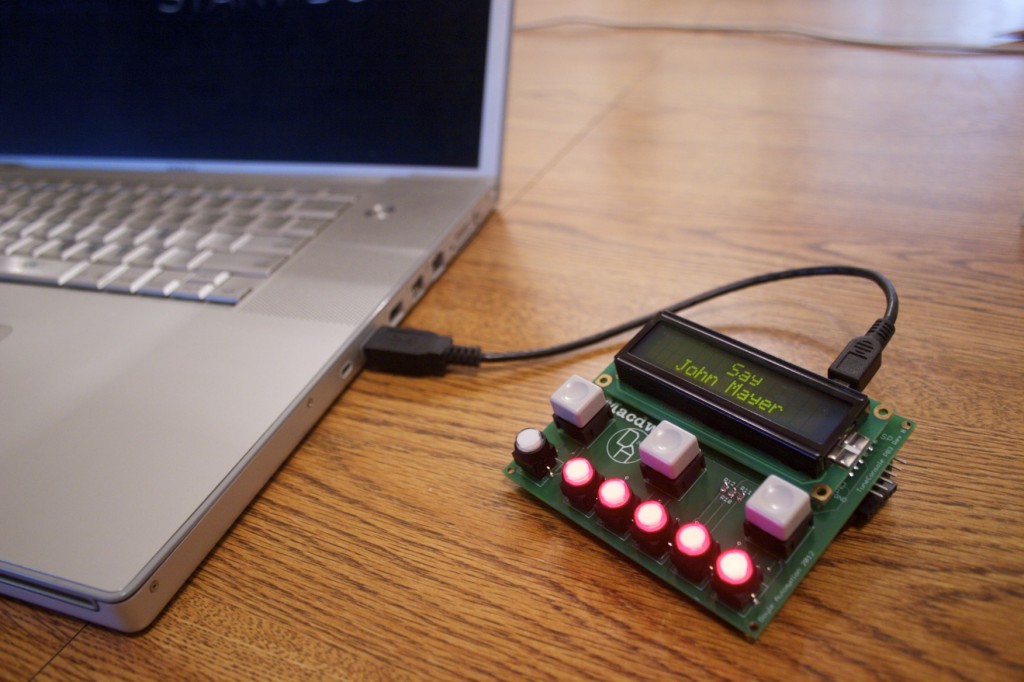
Okay! It’s working (and perfectly, I might add) on my Macbook Pro. I enjoy rating some tunes while I clean up my mess (the whole episode took about two and a half hours, by the way), and then grab the device and wander back to my desk to plug it into my Mac Pro.
I hit one of the rating buttons as a test, just out of paranoia.
iTunes skips to the next track.
This results in several hours spent attempting to debug the problem. No matter what I did, any time I hit anything less than 4 stars, iTunes would jump to the next track. I had absolutely no idea what was causing this.
It got to the point that I actually dug out my oscilloscope again to check the keypress waveform, but that didn’t pan out either. Everything about it looked normal. The only possible answer was a firmware issue, but the firmware hadn’t changed, and the desktop software was up to date.
And sometimes, you end up feeling really really stupid after troubleshooting an “issue” like this one.
After wasting the entire rest of my evening looking into it, I finally get around to opening up iTunes (which was hidden the entire time). Upon doing so, I notice what playlist is selected – and it’s my “highest rated” smart playlist. I stare for a few minutes, and suppress some uncouth words and a rather powerful urge to bang my head on the table.
The playlist is set to only contain four- and five-star tracks, and if you rate one down, iTunes dutifully removes it, which causes a track skip.
D’oh!
Next Steps
And so, all in all, the thing works great, and it’s much more convenient (and less finicky) than a pile of parts on a breadboard. It even looks halfway decent. The only build bug is a very slightly lopsided button that I didn’t notice while I was soldering the thing; I’ll have to get the iron out and reseat it later.
Now I just need something to put it in.
I currently have two options, which I’ll be researching in the next couple of days: laser cut acrylic, like I said before, or milled aluminum, which I’d probably have done locally. The aluminum is my preference, but I have a feeling that the work will be expensive. We’ll see; it would be pretty cool to duplicate Apple’s unibody construction, wouldn’t it?
Beyond that, the firmware needs a good going over, and the desktop app needs to be made presentable. Both are essentially hacks that have grown organically with the hardware build, and it shows if you’re paying attention. That shouldn’t take more than a day or two, and I’ll have a nice, well-built, reliable toy.
And then I’ll be able to move on to my next project, which is kinda exciting. I like building stuff!
See you next time; I’ll keep you posted on the enclosure progress.
S.


Oh wow that hurts, the iTunes playlist. Oh thats painful. I feel for you. That hurts. I’ve had my fair share of that kind of stuff. No worries. You are in great company.
Here’s another good way to keep your SMD parts sorted, while supplies last:
http://www.sparkfun.com/products/11213
Nice write-up! I noted your frustration at soldering the micro-controller, I work soldering these things manually on an almost day-to-day basis. I have found that the quickest way to solder these parts (without expensive re-flow equipment) is to accept that there will be solder bridges and be quite liberal in spreading solder across the pins, mopping up the excess (as you did) with solder braid. A solder pump could be a useful investment if you plan on doing more with SMD components as it can save considerably on using braid. Also a magnifying lens of some kind is a must (A 10x jewellers lens is a good option) Keep up the good work.
Thanks for the tips Steve! whenever I’m working on a project like that I typically have parts all over the place and almost always leave a burn mark or two when soldering. The cardboard and foil trick worked great, my wife always has a fit because for fine work I usually set eveything up on the kitchen table.